On a hot June morning, Sarah noticed her front border of dahlias and salvias wilting by 10 a.m. after a weekend trip. She’d hand-watered last week, but inconsistent soaking left shallow roots and brown edges. What she needed was a repeatable, gentle watering plan that targeted roots without wasting water. This guide walks through common flower bed watering problems and matches each to the right irrigation setup so your blooms stay healthy—even when life gets busy.
What watering problems do flower beds actually face, and which setup fixes them?
Problem: Flowers that dry out quickly between waterings. In mixed beds with annuals and perennials, shallow-rooted plants often show stress within a day or two of missed waterings. Solution: Low-volume drip lines positioned along the root zone deliver steady moisture without wetting foliage. For example, a 50-foot bed with two parallel 1 GPH drip emitters spaced every 12 inches will supply steady soil moisture for most bedding plants.
Scenario and setup recommendation
Scenario: A suburban homeowner has a 20-foot long mixed border with clay soil. The soil compacts and drains poorly, causing puddling after heavy rains yet quick surface drying in summer heat.
Recommended setup: Install a drip mainline with pressure-compensating emitters at 1–2 GPH set 6–12 inches from plant crowns. Add a flush-end or inline filter because clay and settled garden soil can clog micro-tubing. Paired with a simple RainPoint WiFi controller, you can run short early-morning cycles to keep the root zone moist without creating surface runoff. A WiFi timer from RainPoint can handle that schedule automatically.
- Challenge: Compact/clay soil → Solution: low-flow drip + filter + short frequent cycles.
- Challenge: Sandy, fast-draining soil → Solution: longer but less frequent drip to moisten deeper root zones.
- Challenge: Sloped beds → Solution: use pressure-compensating emitters or zone the bed to avoid uneven flow.
How do you choose between soaker hoses, drip tubing, and micro-sprays?
Different flower beds need different tools. Soaker hoses are simple and inexpensive, but they wet soil along their length and can be uneven on slopes. Micro-drip tubing with individual emitters targets each plant’s roots precisely—ideal for mixed perennial beds. Micro-sprays gently cover larger areas and can be useful for compact groundcover beds where wet foliage is acceptable.
Quick comparison table
ToolBest forDrawbacksSoaker hoseLong, straight beds with uniform plantsUneven flow; harder to target individual plantsDrip tubing with emittersMixed beds, perennials, high-value plantsHigher installation effort; needs filtersMicro-spraysGroundcovers or large flower clustersWets foliage; more evaporation
Example: A 30-foot perennial bed with alternating hostas and daylilies will get the best results from drip tubing with 1 GPH emitters placed by each crown. Expect to save water vs. sprays—university extension studies report drip systems can reduce landscape irrigation water use by 30–50% compared with conventional sprinklers.
How often and how long should you water flower beds for healthier blooms?
Problem: Frequent shallow watering encourages surface roots; infrequent heavy soaking can stress shallow-rooted ornamentals. The answer depends on soil type, plant mix, and season. Rule of thumb: provide enough water to moisten the root zone 6–8 inches deep for perennials; annuals often need 4–6 inches. Use short, repeat cycles in hot weather to avoid runoff and longer single cycles when plants are establishing deeper roots.
Sample watering schedule
For a mixed perennial bed in moderate climate:
- Spring/fall: 2–3 times per week, 20–30 minutes per zone with drip (adjust by emitter rate).
- Summer heat: 4–6 short cycles per week, or daily brief cycles during heat waves.
- After planting: water daily for the first 1–2 weeks, then reduce as roots establish.
Example calculation: With 1 GPH emitters and two emitters per plant, a 30-minute run delivers 1 gallon per plant per day. Compare that to overhead sprinklers that can use 1,000+ gallons per hour across a bed—drip clearly trims waste. The EPA notes that smart irrigation controllers and efficient systems can save substantial water; smart controllers alone can reduce outdoor water use significantly (EPA WaterSense).
How do you install and maintain a flower bed irrigation system without professional help?
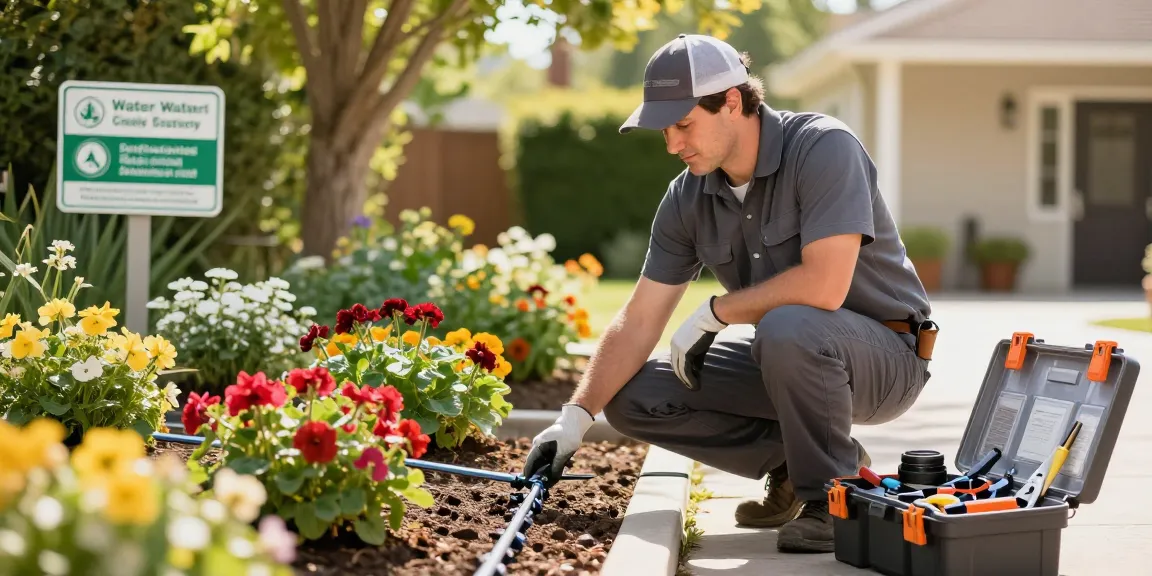
Problem: Gardeners want a reliable setup but worry about tools and complexity. Solution: A straightforward DIY approach works for most beds—lay a main poly tubing line along the bed edge, punch in emitters where plants sit, attach a pressure regulator and filter to the faucet, and add an automatic timer to take care of schedules.
Step-by-step example for a 15-foot border
- Measure bed length and map plant positions.
- Install a shutoff/backflow device at the spigot if required by local code.
- Attach a filter + pressure regulator (most emitters need 15–25 PSI).
- Run 1/2" mainline tubing and secure with stakes 6–12" from plant crowns.
- Punch holes and insert 1/4" tubing with 1 GPH emitters at each plant.
- Flush the system, then bury tubing 1–2" under mulch to hide and reduce evaporation.
Maintenance: check filters monthly during the growing season, winterize by draining lines if you have freezing temperatures, and replace worn emitters as needed. Example: a homeowner reported cutting their manual watering time from 30 minutes daily to two automated 20-minute cycles weekly after installing drip and a programmable timer—freeing hours while improving plant vigor.
If you want step-by-step guidance tailored to flower beds specifically, see our detailed walkthrough to set up flower bed irrigation for healthier blooms which covers emitter spacing, pressure tips, and mulch depth for common ornamentals.
How do smart timers and controllers fit into flower bed irrigation?
Problem: Forgetfulness or changing weather causes under- or over-watering. Solution: Smart controllers schedule watering based on time, and the best models use weather data or soil moisture sensors to adapt runs. For example, a WiFi sprinkler timer can skip cycles after rain, or a soil sensor can prevent watering when moisture is adequate. According to EPA WaterSense information, smart irrigation controllers can reduce outdoor water use significantly compared to manual controllers (EPA WaterSense).
Scenario: A homeowner with limited time wants hands-off care for three separate beds with different needs (shady perennials, sun-loving annuals, and a new bulb bed). Use a controller to create three zones with tailored durations. A simple RainPoint WiFi timer can manage multiple zones and integrates easily with existing valves, making seasonal schedule adjustments painless. For a new bulb bed, program shorter, more frequent cycles during establishment; for the shady bed, program fewer runs but longer soak times to reach deeper roots.
Maintenance tip: Check run logs monthly and watch plants after heat waves. If you see wilting in the hottest part of the day, shift at least one run to early morning or add an additional short cycle. Small changes in runtime can make big differences: increasing a 15-minute drip run to 25 minutes will add about 2/3 more water per emitter and can steady wilting perennials through peak heat.
By matching the right hardware to the problem—micro-drip for root-zone delivery, soaker hoses for simple straight beds, and smart timers for consistent scheduling—you’ll spend less time babysitting the hose and more time enjoying fuller, healthier blooms. For installation kits, emitter choices, and how-tos, the RainPoint team has products and advice geared to common yard scenarios.